Start with what is thereExisting conditionsThe workshop approach
Look beneath the surfaceThe build-upPreparation sequence
Consider the relationshipsSetting-out studyWet-area questions
Resolve the meeting pointsFinish detailProject worksheet

An explanatory section.
Methods and specifications require an on-site assessment.

Bring it to the survey

The installation workshop

BEFORE
THE FIRST
TILE.

A considered finish begins with what you cannot see. Review the surface, the transitions and the decisions underneath.

Mark your project conditions
Construction relationshipExplanatory study
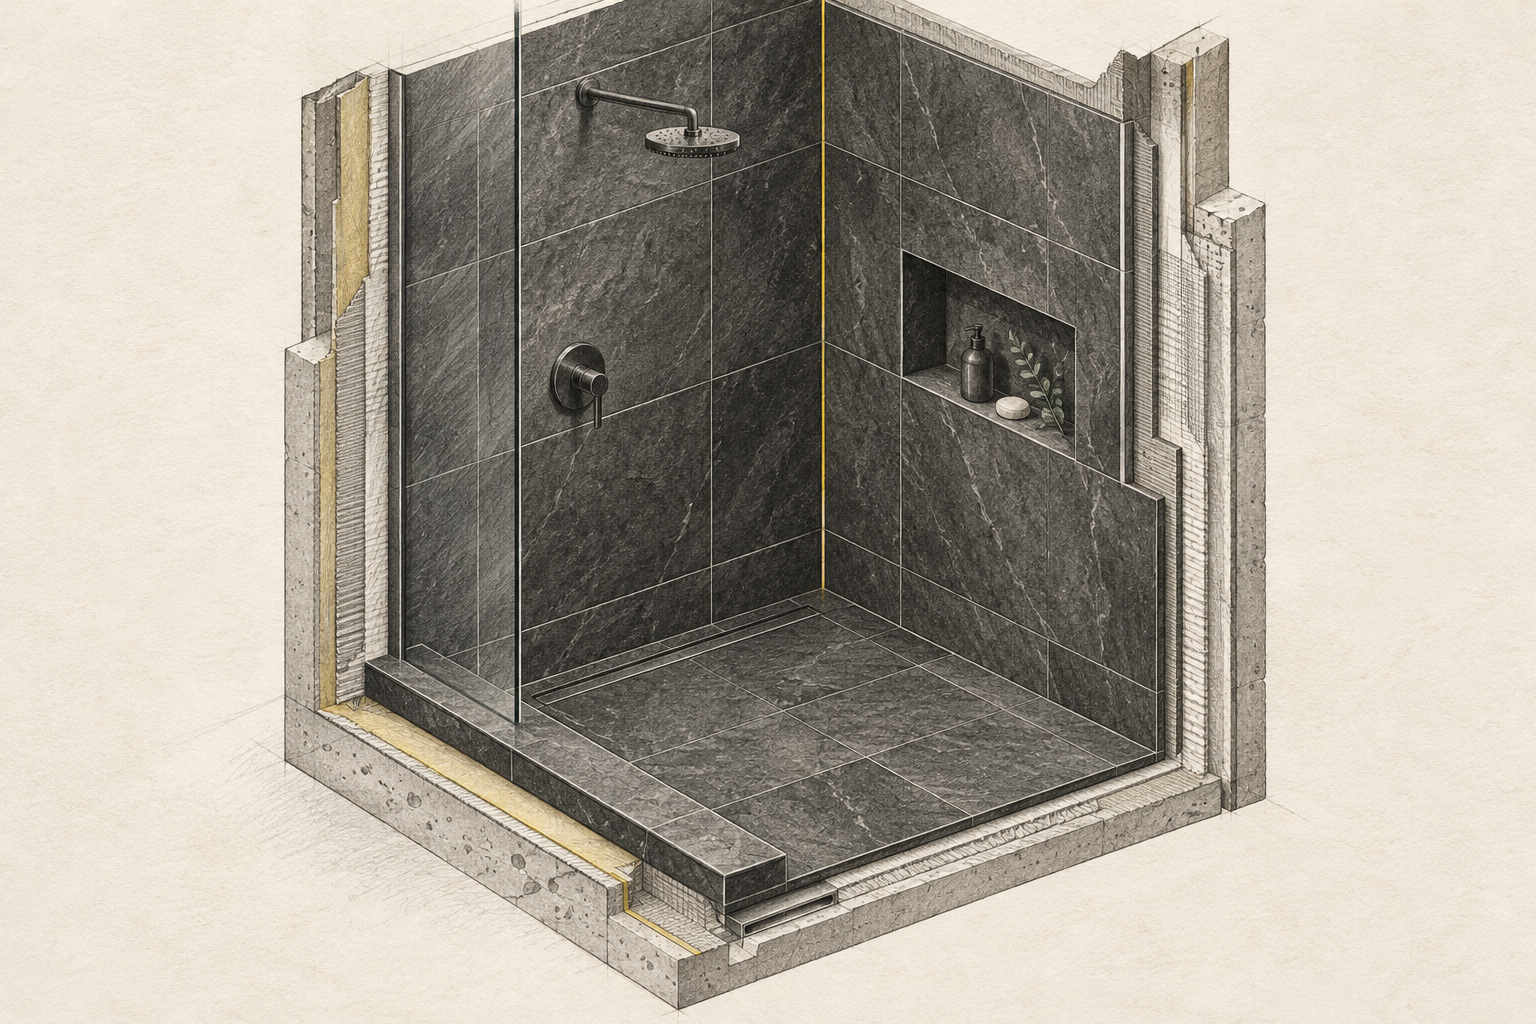
Graphite drawing of floor and wall layer relationships; explanatory construction study
No product, thickness, fall or installation specification is shown.
A surface is a system of decisions.Read the section

What happens beneath the finish.

Follow one explanatory room section from the surface you can see to the questions beneath it.

The same section, four moments.Explanatory drawing · not a specification
One project section · four conversation stages

The room as it stands.

Start with the visible surface, the adjoining finishes and the records you already have. Keep uncertain construction details as questions.

Look closely

A hairline in a drawing cannot diagnose the actual surface. Describe what is visible and ask what needs investigation.

Ask the installer

What needs checking before the finish is selected?

Discussion focus: existing surface

Illustrated relationships only. A qualified installer confirms the actual construction and specification.

Take this into my brief
Project conditions

Where does your
job get complicated?

Choose what deserves a closer look. These notes travel into your survey draft.

Things to inspectSurvey notes: Wet area
The build-up

EVERY LAYER.
ONE RELATIONSHIP.

Select a layer to see its place in the study. A survey establishes the real materials and method.

Resolve the visible lines.

Joint alignment, cuts and visible edges belong in the conversation before the tile is laid.

Diagram is explanatory. It does not provide a construction or waterproofing specification.

LOOK AT THE
MEETING POINTS.

A large surface tells part of the story. Its edges tell the rest.

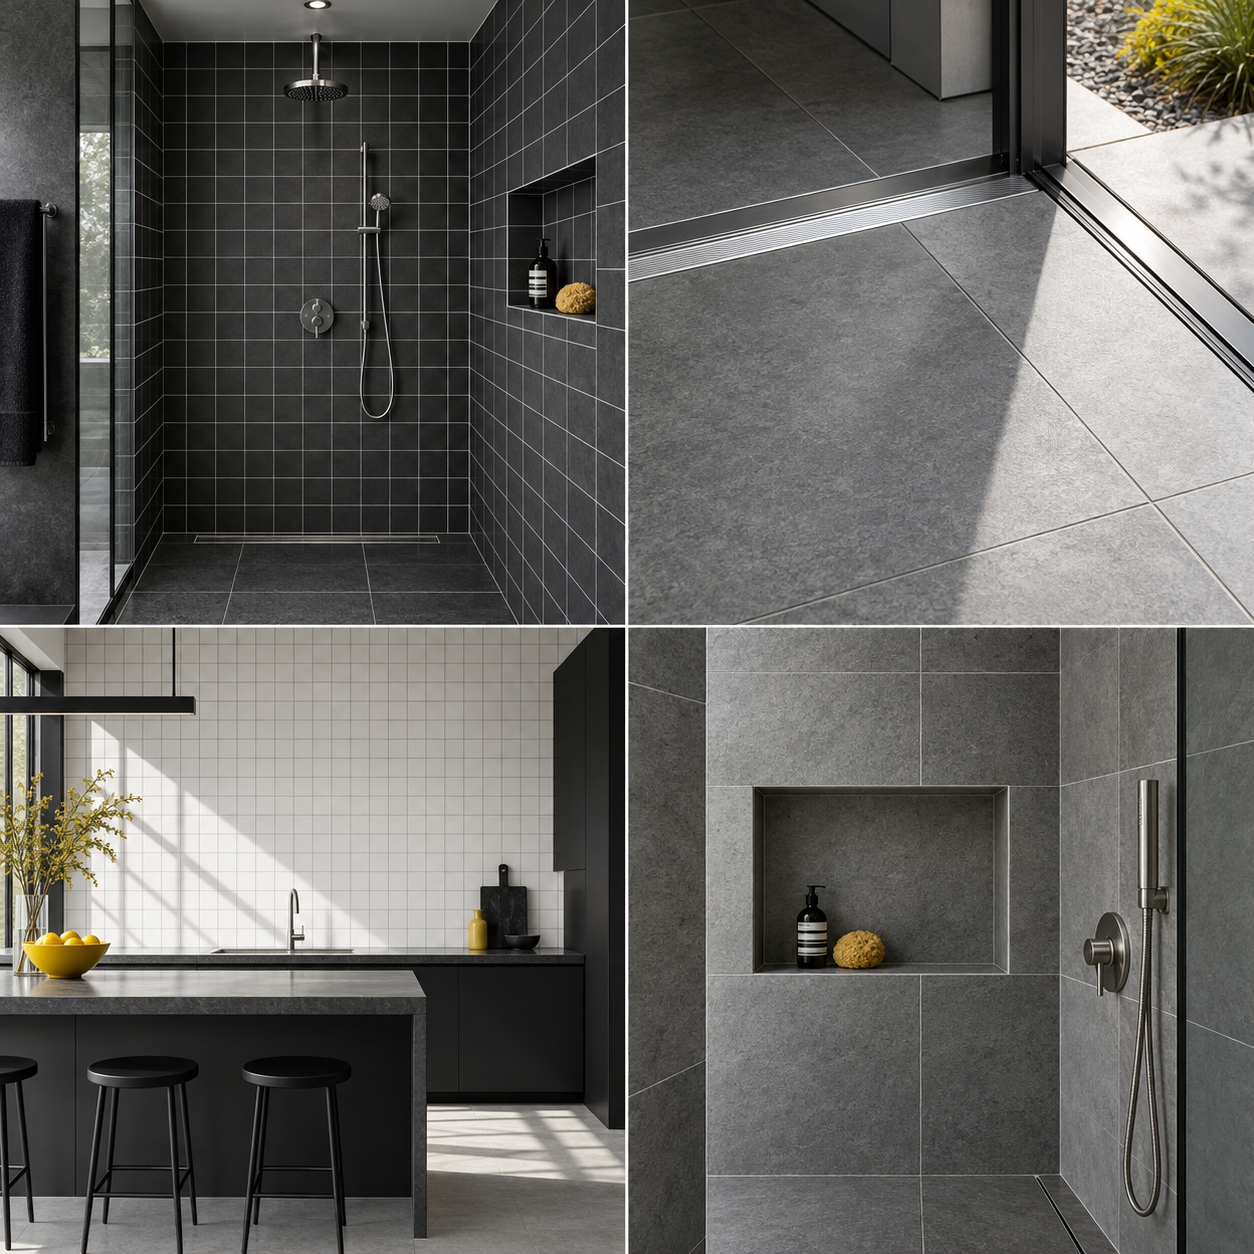
Demonstration tiled floor meeting a threshold

Floor to opening

The threshold.

Check the adjoining finish, the exposed edge and the relationship between levels.

Demonstration tiled recess showing the joint layout

Wall to recess

The change of plane.

Bring the niche, the return and the joint layout into the same drawing.
Your survey sheet

PUT THE
QUESTIONS
ON PAPER.

Describe the room. Add the difficult details. Keep a clear starting point for the real survey.

  • Existing surface and known conditions
  • Room, use and adjoining finishes
  • Tile ideas and questions to resolve

Local draft only. No survey is booked or information sent.Design study selection: Discussion focus: existing surface Conditions: Wet area Layer to discuss: Finish & joint